Categories: all aviation Building a Biplane bicycle gadgets misc motorcycle theater
Wed, 05 Apr 2017
Rust-Oleum RockSolid Initial Impressions
I'm nearly done with building the garage that will house my future airplane-building shop, and one of the final steps was to finish the floor. For this job, I decided to use Rust-Oleum RockSolid Polycuramine floor paint. It was reasonably well reviewed, and seemed to be at least as good a choice as straight epoxy, but allowed a much wider lattitude of temperature for application, which appealed to me as the Northwest weather has not been warm.
I prepped the garage, taping off the bottom of the walls, and over the threshold for the big door. The citric acid etch was reasonably easy to apply and deal with, although I suppose I won't know how well it worked until I've been beating on the floor for a few years. Certainly once washed off, the floor was completely clean.
The paint itself was easy to mix, and the "burst pouch" that holds the paint made mixing quite straightforward. I squished around the paint as directed, both before and after mixing the two sections together, and the first coat seemed to go on reasonably well. I bought the two-car garage kit, intending to put two coats of paint on the floor (and there wasn't a one-car kit in the store that I could find, so why not).
Unfortunately, the instructions about working in a series of 4x4' sections were hard to follow, as the first time I set down the pouch full of paint, it fell over and spilled paint into a three-foot puddle before I glanced over and noticed the problem. Of course, that puddle was at the back of the space, far from the door I'd eventually be exiting, so I ended up painting in two long strips with a clear path down the middle so I could get back to the paint puddle to refresh my roller. Ironically, that may have saved me some trouble on the first pass that I only encountered on the second pass.
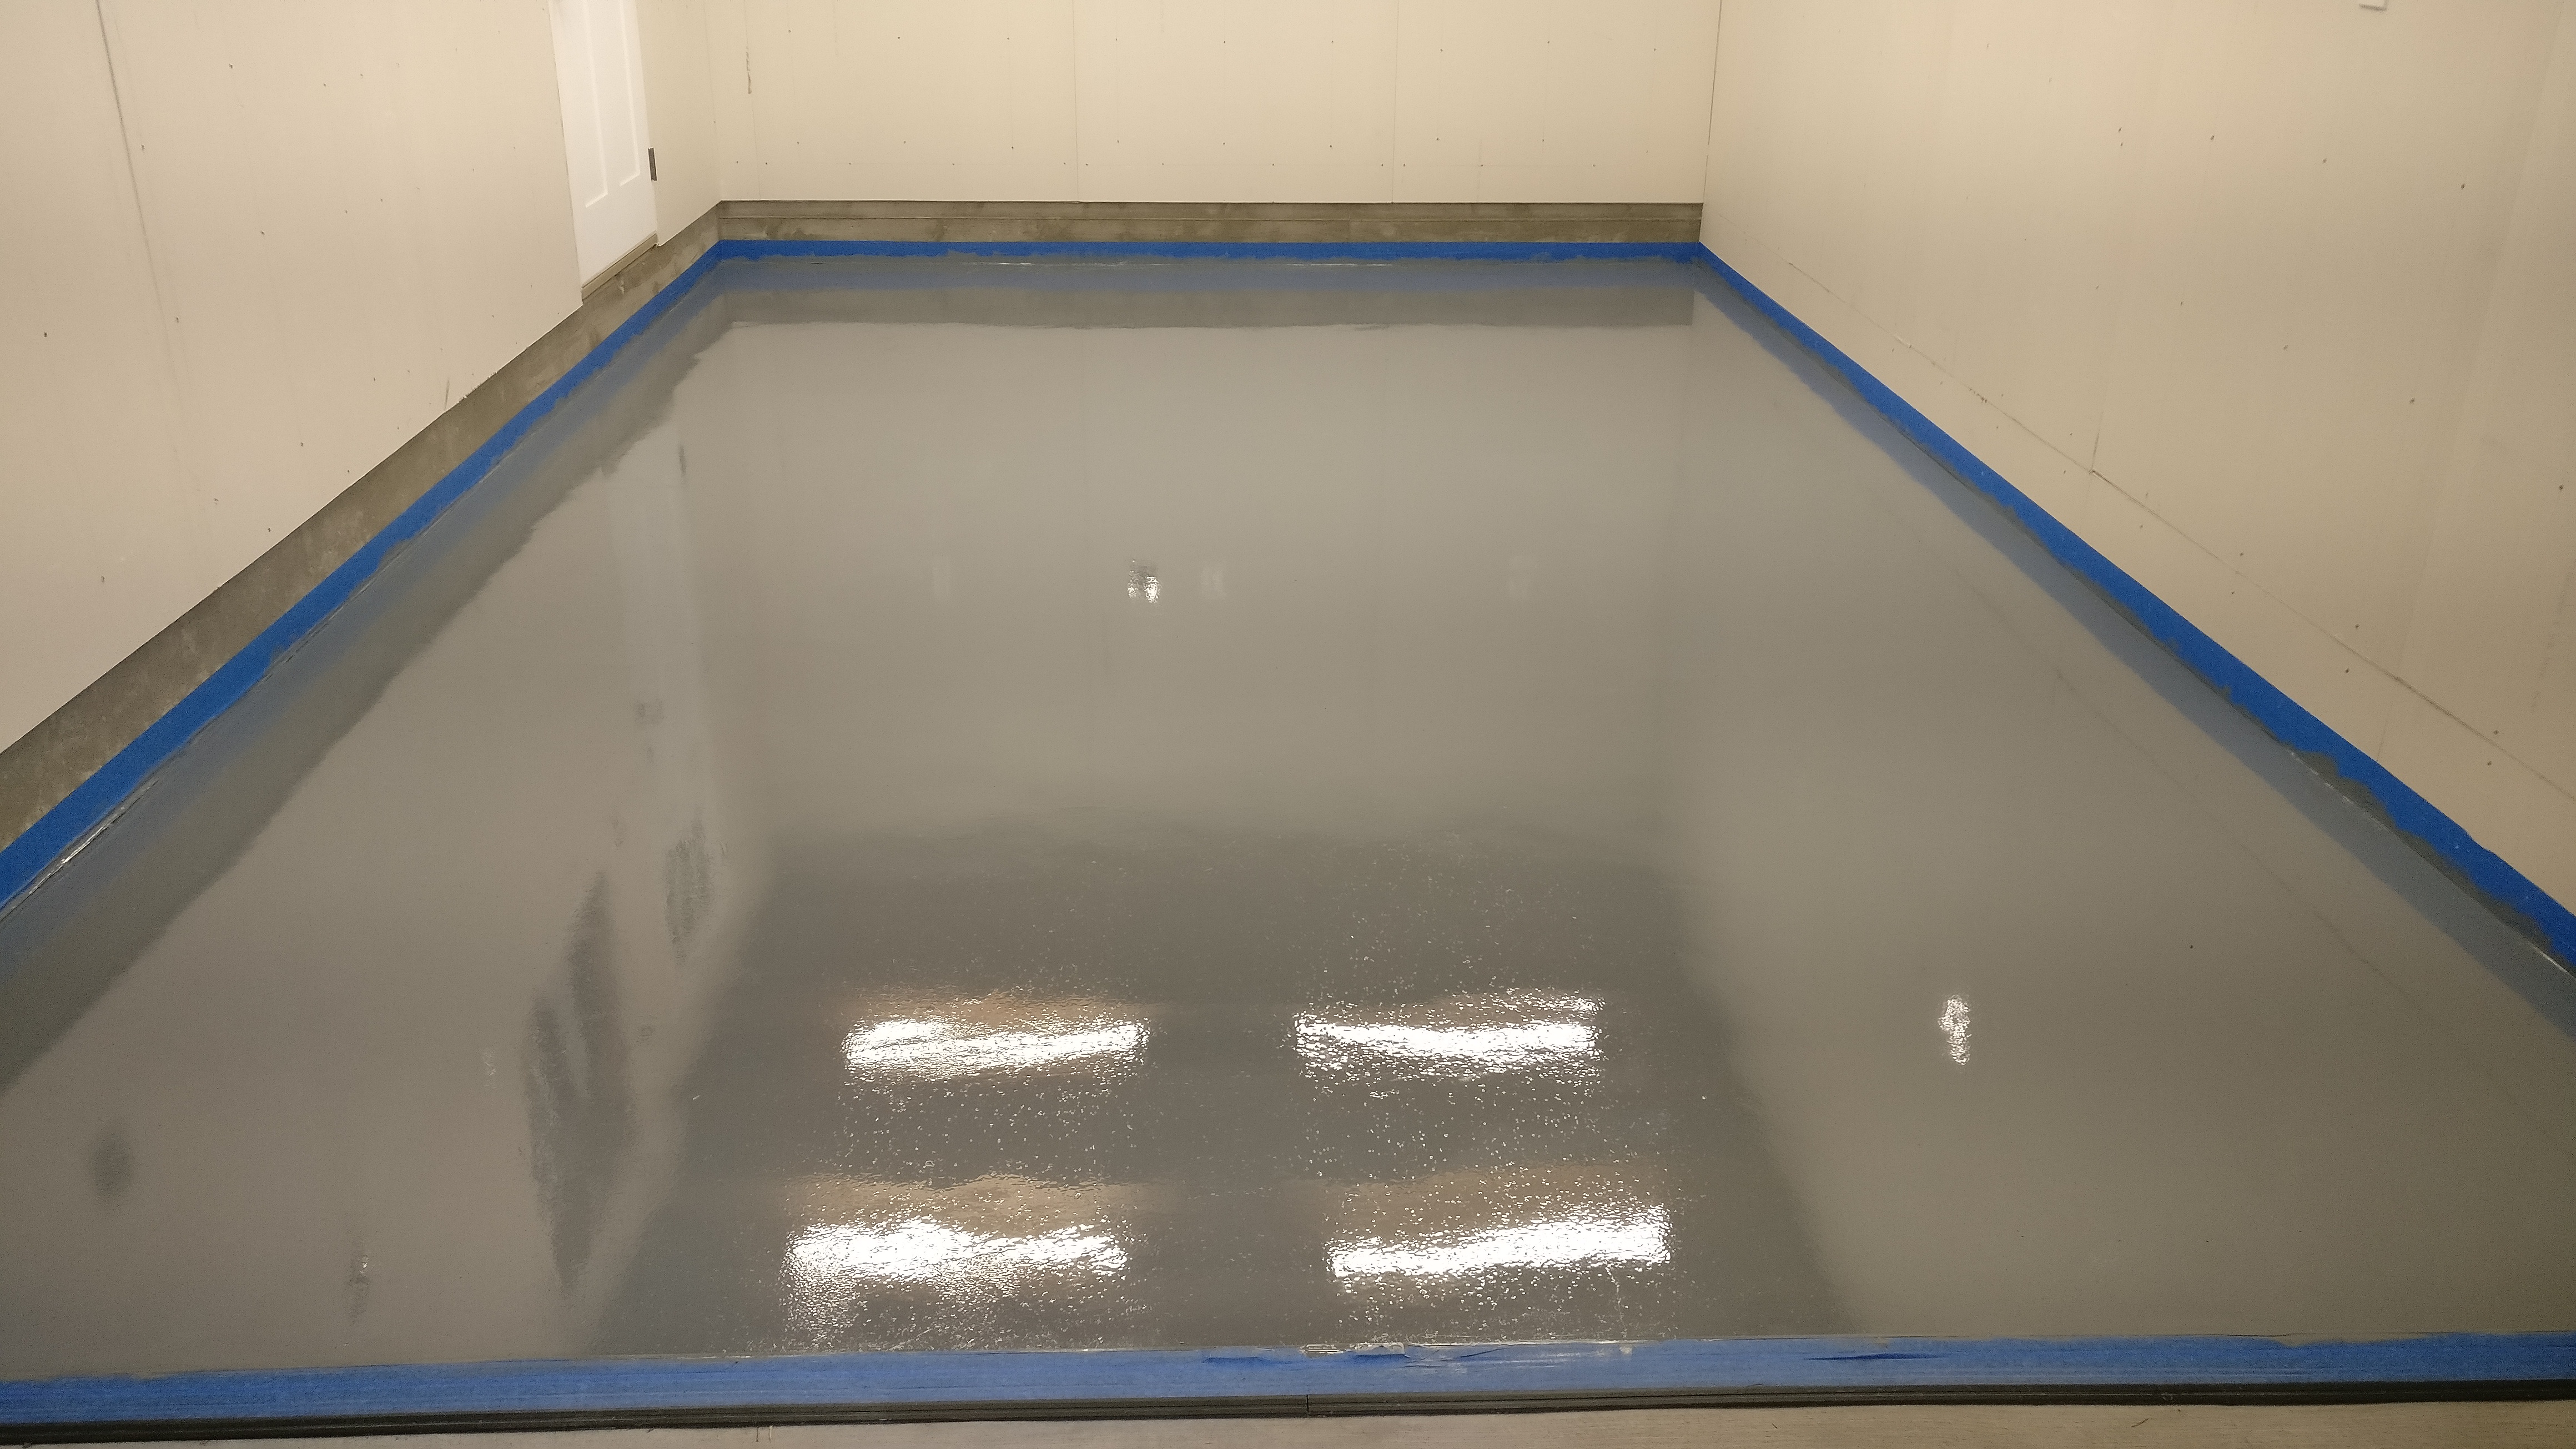
The first coat; click to embiggen
The results of the first pass were decent, but far from perfect: lots of pinholes in the paint, and a few patches of discoloration where some contaminant was clearly present. Even so, when I looked in on the paint the next day (when it was clearly done curing, assuming the instructions could be trusted) I thought it was still wet, it was so shiny. A touch confirmed that it was cured, though. Impressive! Pity about the pinholes, but the finish quality was amazing.
I let the floor sit for a couple days while I waited for time in my schedule to apply the second coat. It's ok to wait up to 7 days for the second coat, so I was well within the recoat time limit.
I had noticed on the first coat that the foam roller cover they supply with the kit was pretty terrible at staying on the roller frame -- it would worm its way off the frame as soon as I started rolling, and I pushed it back onto the frame at least fifty times over the hour that I was putting on the first coat. It was even worse on the second coat.
For the second coat, I got clever, and dropped the paint pouch into a 2 gallon bucket to keep it from flopping over and repeating the paint-puddle experience. This worked perfectly, and I recommend it as a good practice with this kind of paint container. I was able to follow the directions, and put down a ribbon of paint every 4 feet, trimming in the edges with a cheap-as-possible chip brush, after the nice synthetic brush I'd used the first time completely failed to clean out with mineral spirits as they suggest. I threw that brush away, as it was clear I'd never get the epoxy out of it, and it would be (ahem) RockSolid in a matter of hours.
Unfortunately, the ability to follow the directions made it harder to finish on time. I would have been better served by keeping a roller tray full of paint, as the ribbons from the pouch were hard to spread, and resulted in thick lines that took a lot of time to smooth out. I was rushing toward the end, to avoid working past the rated pot time of the paint (one hour for the temperature I was working at).
Unfortunately again, the roller cover that liked to inch off the tool continued to do this, but I must have tapped it too hard at some point, trying to re-seat it, and the cardboard tube, soaked in paint, just turned to mush and started shedding pieces into the paint as I rolled. This further increased the time I was taking to cover the floor, as I kept stopping to pick out shreds of roller cardboard. The shredded roller cover, in addition to losing pieces of cardboard into the paint, soon lost structural integrity, and a large flap of loose foam was flopping around as I rolled into the final quarter of the job.
There's no question in my mind that my technique was at least partly to blame, but I don't think I'm unusually incompetent among the target market for this paint. The decision to make the roller cover based on a cardboard tube was no doubt a very good one from a cost standpoint, but it made the resulting experience for me pretty frustrating. A fiberglass cover (even the super-cheap latex roller covers are based on a fiberglass tube) would be less likely to inch off the roller, would not be at all susceptible to decomposition in the paint, and would add a dollar to a $200 kit, a price I would gladly pay to not experience the aggravations I went through last night.
It appeared, from my painting last night, that the first coat was surprisingly prone to scuffing. I'm not sure what was doing the scuffing, but I came across a number of scuffs on a floor that I had literally only walked on gently, in carefully cleaned Converse hightops, for a few minutes. Hopefully I'm wrong, and I was seeing wet paint that I misinterpreted as scuffs, but that's not consistent with how I was spreading the paint. I'll know in the next week or two, and hopefully the paint will cure and get harder over time so I'm not just walking around on a two-hundred-dollar scuff-fest. It won't be the end of the world if that does happen, but it will serve to invalidate Rust-Oleum's claim that this stuff I just laid down is "20x stronger than epoxy."
When I peeked in this morning, I was surprised to discover much stronger patches of discoloration than I'd seen in the first coat. The roller marks were still pronounced (I'd been hoping the second coat would be smoother than the first, where I was flustered from the spilled paint at the beginning of the job), and the pinholes were no better than they had been on the first coat. I followed the directions carefully, and did what they said, though I can only assume the problem is in my technique and not in the product. Perhaps I didn't mix the paint thoroughly enough the second time around, after the first time worked out pretty well.
Based on what I know at this point, having not yet walked on the second coat or given it more than a cursory look, I'd make the following recommendations to anyone else wanting to use this product (some of which are probably standard practice that I'm deducing through my mistakes):
- Wash off the etching solution a couple times more than you think is necessary
- Get a friend to help. Working solo, I was too slow, and it took me a bit more than an hour to finish my 240 square foot space
- Buy different roller covers, based on fiberglass tubes. Super low nap, and foam would be ideal
- Keep the paint pouch in a bucket to prevent spills
- Working from a roller tray will result in a more consistent finish
- Epoxy destroys (specifically, hardens in/on) everything it touches, so only use disposable supplies
- Mineral sprit clean-up is only true if you can positively wipe with it (rather than relying on it to dissolve the paint)
I don't know yet if the final coating is any good or not, though I don't have any reason to suspect that it will be bad. The wide application temperature seems like a good thing, but I wonder if painting onto a 45° concrete slab, despite being inside the stated temperature range, might have contributed some to my problems.
The kit was overkill for how I used it. If I could have bought the etch and paint separately, I would have been happier to save money on the paint chips I decided not to use, the second bag of etch I didn't need, and the terrible, disintegrating cardboard-based roller covers. I'm sure the company is happier to sell me a kit than individual pieces, since they get the profit whether I use the whole thing or not, but I found myself annoyed at the wasted money and materials.
I'll put up an entry in a few weeks or months and report back on how the floor covering is working out at that point.
Posted at 11:40 permanent link category: /misc
Categories: all aviation Building a Biplane bicycle gadgets misc motorcycle theater